Nearly 2 years have passed (24/02/19) since I chanced upon Banana Fish (2018), a modern adaptation from the 1985 manga by Yoshida Akimi. The anime tags include: mafia, drugs, child prostitution, violence, shoujo (?!), shounen ai...

Say no more, I NEED to watch!

Expanding on the shoujo tag, I couldn't believe this was published in Betsucomi (ベツコミ), a monthly Japanese shoujo manga - guess the girls back then were a lot more mature - perhaps less sensitive than the strawberry generation? - than conceivable in the present...

Nearly a year has passed since I stumbled upon this beauty on Mandarake's website, which was a miracle in the figure world as it is impossible to get them (at a reasonable price) once you missed the preorder. Looking back at the Order History, my brows raised at the shipping fee, but nevertheless I applauded myself for the excellent decision:


He has also since become the cover boy of my Mail:

Kotobukiya also released their interpretation based off the above pose in their 1/8 ARTFX J line. I wasn't a fan of the basic outfit, so I gave it a pass: 

Image source: Kotobukiya website

Now I'm (finally) ready to share my interpretation of Megahouse's scale figure, inspired by the historic Jinli Street (锦里古街), Chendu, Sichuan, dating back to The Qin Dynasty (秦朝, 221 - 207 BC):

A narrow alley along Jinli Street
Image source: Flickr

The street features gray flagstones, rows of red lanterns, and I wouldn't be surprised if the spirits of the ancient civilians still resides by this ancient soil. I'll make it a point to locate this alley when I visit China!

I had a headache figuring out how to design the lanterns, but finally settled with a stylised design, rather than model after the actual lantern.


A. Lantern Making:


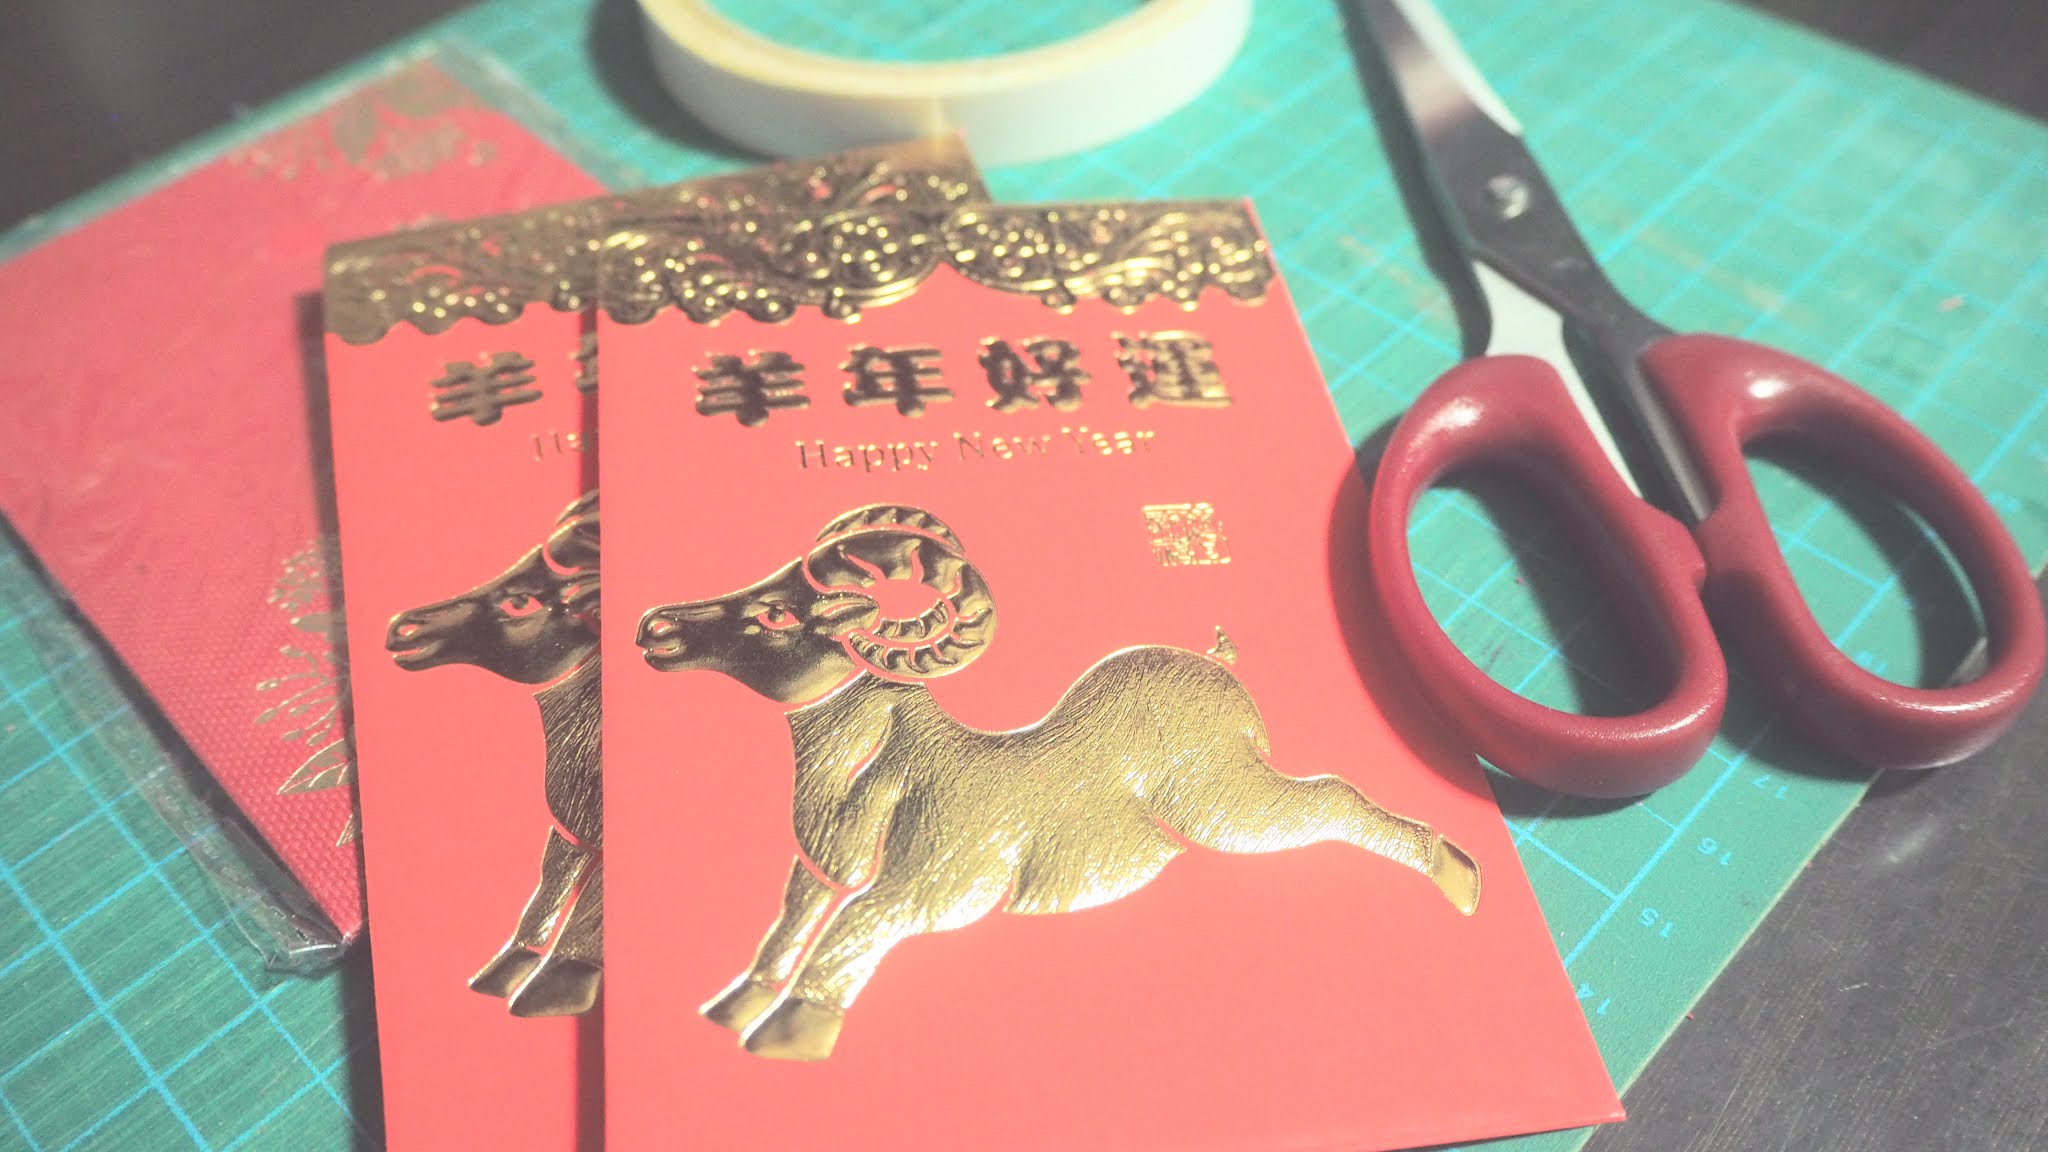
#1. Dig out leftover ang baos (red packets) from past Chinese New Year collections


#2. 'Disassemble' the ang bao, and cut as above
(For the DIY lovers, check out the tutorial here)


#3: Finished product! After making 5, I realised they were too huge... I made another 6 by cutting the ang baos into half


#4: Making the hanging mechanism - this was the reason for the delay in starting this project I had NO IDEA...until I realised I could use floral sticks to string the lanterns together


B. Background:


#1: Sometimes I wonder if I studied Landscape Architecture just so I was enabled to do such 'elevation plans' and photography editing


#2: Nothing like stock images to aid my non-existent CG skills! I initially started with 2 textures (stone cladding & dirty concrete), but decided to add in a door and stone steps to create depth in the backdrop


#3: Do take note to account for the material's thickness so you can save on some paper when you glue the Styrofoam boards together (In case you're wondering, the wooden bracket attached to the side of the board is for hanging the lanterns - a sudden stroke of idea)


#4: Elevation of the door & stone steps; added the Emergency Sign as an interest point; arrow aids in guiding the viewer's eye to the subject/desired focus point


C. Reflections

While I'm ashamed to admit I had not touched my Olympus E-PL8 for almost a year, I was not prepared for it to spoil on me! Turns out my lens was no longer sensitive to the camera body and had to be replaced... The good thing is I finally got a dedicated lens for close up subjects - a Sigma DN ⌀46 Fn 2.8 that gives some sick depth of field and bokeh effect!

(Not that I got to try the latter due to the nature of the set [not enough distance between the subject and light source to create the bokeh effect...])

Total damage plus the filter lens (after a generous discount by the boss T.T) = $280

Thoughts on the editing process:

While having a basic knowledge of Photoshop certainly helps, it is more important to have a concept for the subject, then editing becomes hella easy. As I don't do design & editing for a living, I don't remember all the special effects off the top of my head, but what I do know is the generous community at Youtube. It's amazing how I never fail to pick up new editing tricks after each projects. For as long as I can afford the space and figure, I never want to stop doing this.


D1. Finished Product

Theme: Vintage, washed out with yellow hues
Bonus: Night scene (this was the original intention, but I didn't think I could pull it off... Decided to give it a try anyways because I wanted to see the end result)

Surrounded & Cornered

Experimenting with the polaroid effect

Without frame; really enjoyed the dusty overlay effect (those white specks)

Gobbless: masking effect

An obligatory back view of the figure

My favourite shot (+need to include the tiny roof or I would have done it for nothing!)

(P.S.: The guns & toning are giving me Gunslinger Girl vibes...)


D2. Bonus

Just in time for Chinese New Year (12/05/21) fufu...
Although this was never my intention, I'm glad it coincides with a celebration of my race that I'm so proud of. Luv you Ash <3

Since his face is nearer to the lantern, I'm able to apply more highlights with reasonable confidence

D3. Behind the Scenes

Another obligatory shot of the set:

Unedited, taken outside my house
(Yes that is my Laneige two tone lipstick, to block light coming from the bottom of the set)


A super windy day, although I can't say this shoot was a breeze, it was certainly a whirlwind of fun.

xoxo

P.S.: With reference to my post title, this was what the author had to say,  “I intended to let him die in vain.” So his death had no inherent meaning. I found a rather poignant comment online in response to that, "It’s cruel to think that he died in vain. Still, I don’t think his death needs any lessons or meanings. Man is mortal. Our death is seldom of grave significance. So it goes. Ash was no exception. This severe, gritty style is one of the features of Yoshida’s work."

It almost justified the ending, which according to the author, was a happy one for Ash - just not the best one for me.

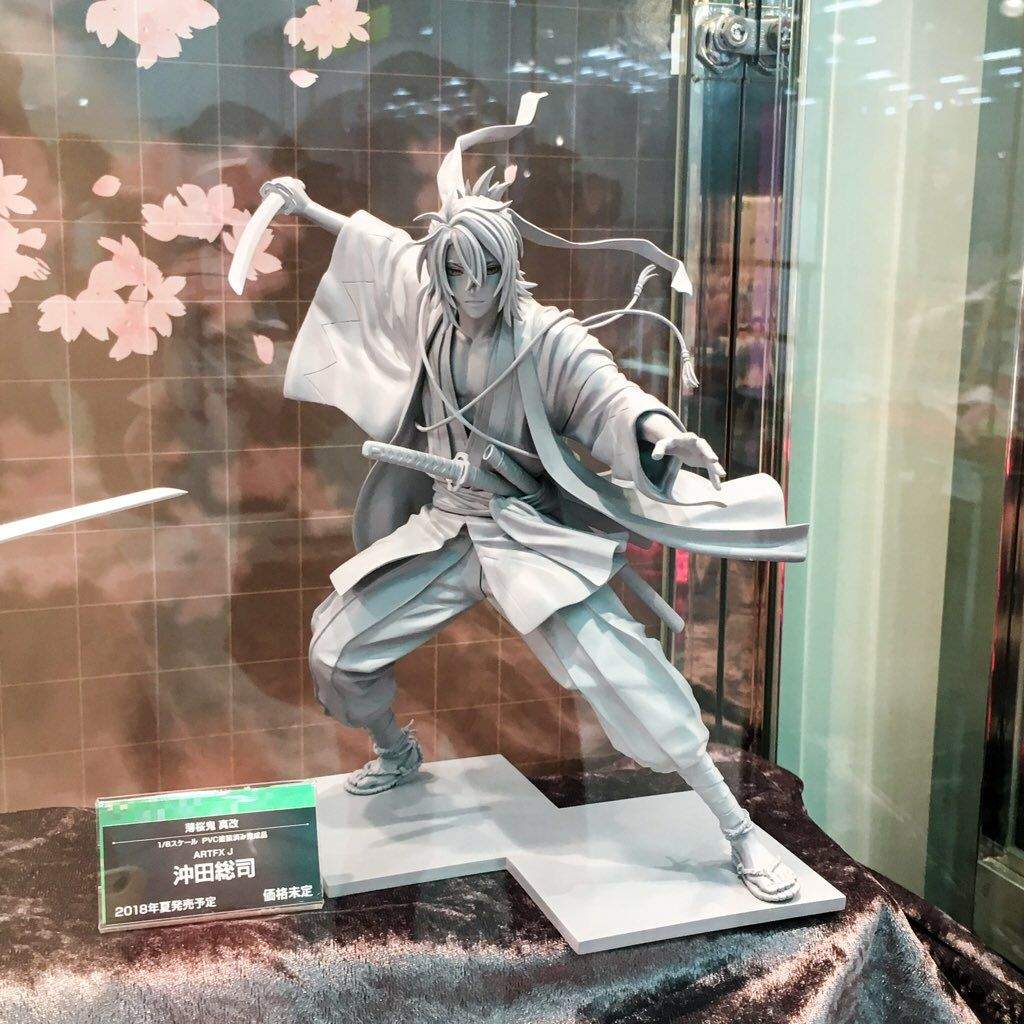
I couldn’t believe my luck when Kotobukiya, one of Japan’s giants of figure manufacturers, released the unpainted prototypes from a game-turned-anime series called Hakuoki (2012), 5 years after its release. 

Source Aminews Twitter (2017)

In an industry where speediness and relevance makes money, this was a giant leap. Especially considering that the consumer group of the figure industry is predominantly male, coupled with the increasing amount of otome games (literally “girl games”) being churned out over the years, I could only speculate the pushing factor to be the popularity polls - a grade book equivalent for anime - to be the determinant. Oh bless the faithful fan girls!

Okita Souji was 1 of the 2 bad boys scheduled for the 1st (and evidently final) release, and as my 2nd favourite, I had to snag him. 

As the sadist of Kyoto’s self-employed police force Shinsengumi, he is extremely popular among fan girls. Much credit is due to his seiyuu (voice actor) Morikubo Shoutaro, who also voiced Nara Shikamaru of Naruto. I wasn’t initially convinced but was eventually won over. The change of mind happened during this lovely scene:


Look how hard this basic MC who is supposed to represent all mediocre fan girls and hence “relatable,” is blushing... Oh but the sexy smirk oh Souji-

And that’s the beautiful part of otome games - no matter how basic and clumsy you are, he will eventually fall so hard for you he wouldn’t let you go...

We ladies could all do some under-the-tree cuddling, with the right man of course

This should suffice for the backstory, hehe. Let’s move on to the process.

*
*
*

My Kwansei Gakuin student buddy - why didn't I take any selfie too...

I actually forgot I've been to The Fushimi Inari Taisha at Kyoto until now... Unfortunately the shrine did not inspire fond memories as it was jam-packed with people and going to a tourist spot in the middle of Summer, not wise.

To keep things in context, I decided to import these iconic orange torii gates to Singapore. While this is one of the lowest costing projects, it was time-consuming and painful to build, versus the shoji panels from Hajime’s shoot.

I had to prepare both the vertical poles and overhead columns separately, as the top ones are rectangular. Boy do I hate rolling these cylinders... While I did not have to measure and prep 6 sides as I did for the rectangular overhead columns, the lack of QC meant every poles ended up with varying diameter. Thankfully it wasn’t evident in the blurred backgrounds (hah.)


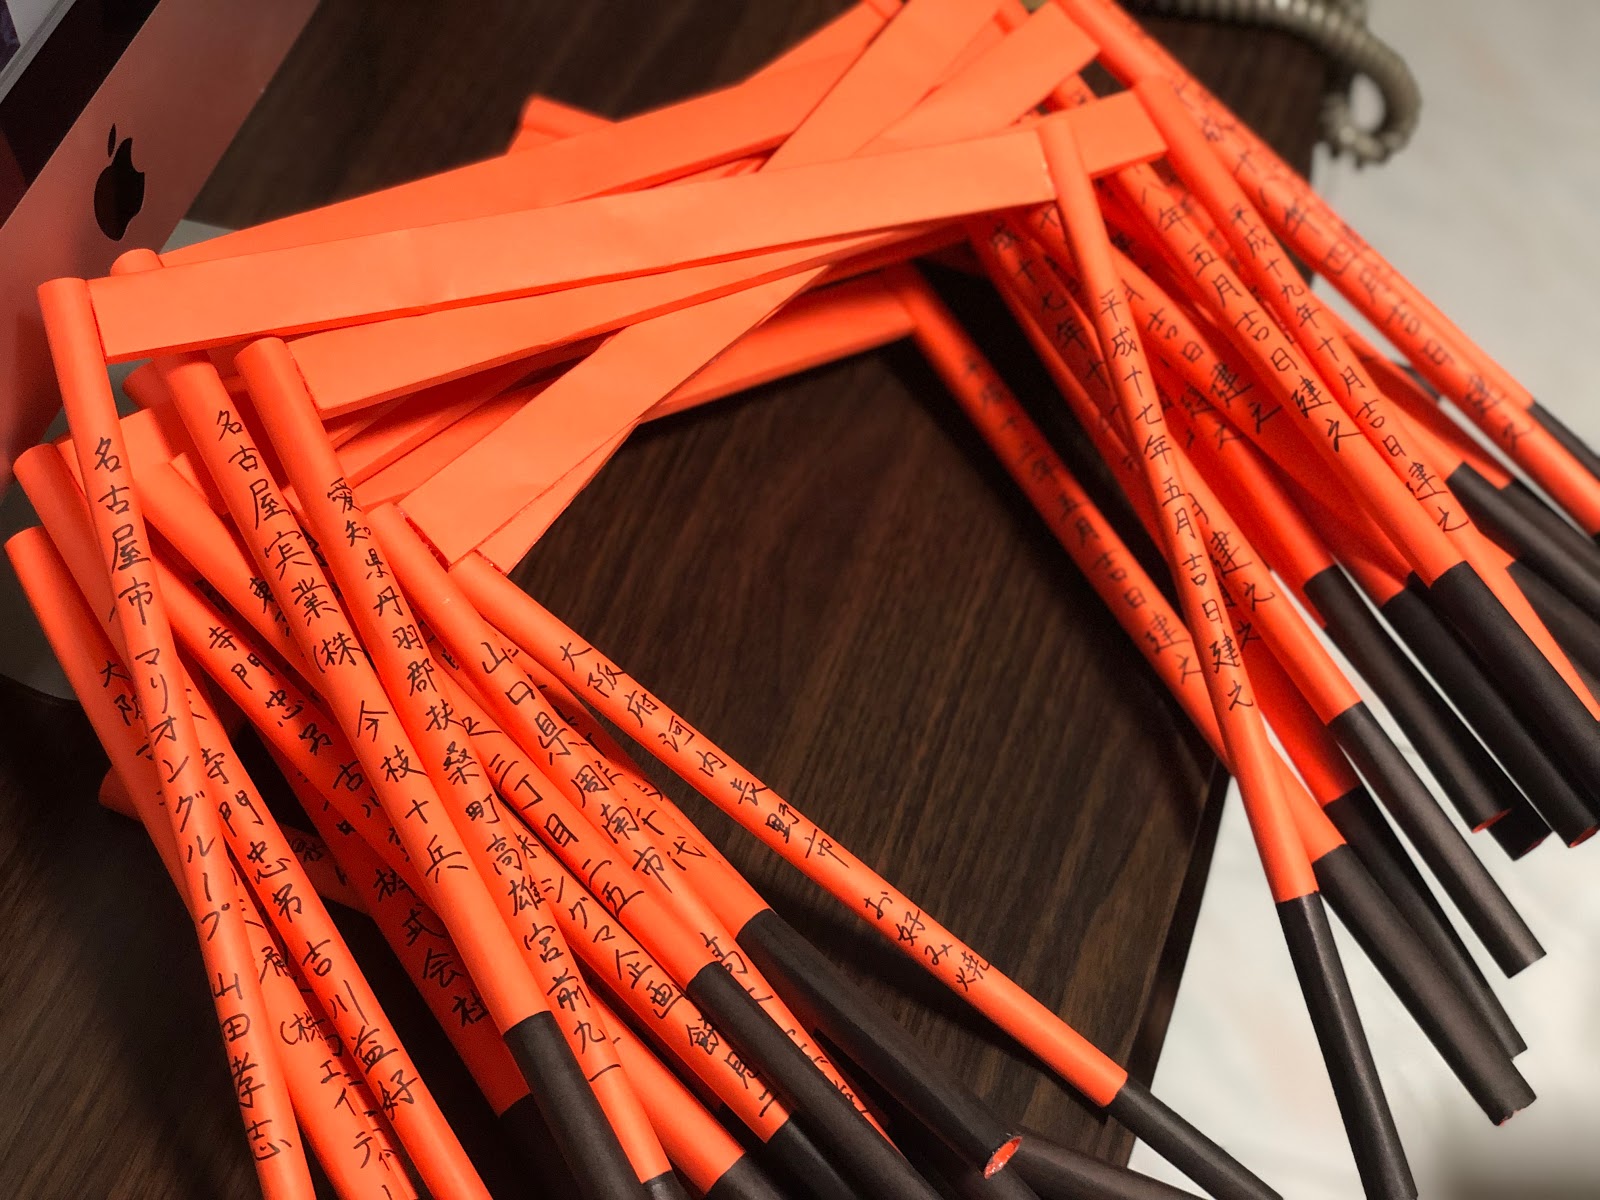
To up it’s authenticity, I even summoned the dormant calligrapher within me and diligently copied the writings on the vertical poles, based on the photos I found on Pinterest.


And this stack of paper was the only purchase I made to make this happen.

You may not know this, but I enter every project with insecurities and uncertainties. Even with faithful research and careful planning of the backdrops, there are no guarantees.

Take this Fushimi Inari shrine theme project. 
This was the second time the backdrop failed and the shoot was delayed by 2 weeks:

1. I did not make enough poles, leading to lack of intended depth;
2. Insufficient poles also meant I could not create the illusion of an endless pathway
3. (Painstakingly) gluing each poles to the floor led to jarring g a p s between them, ruining the authenticity 


4. Steps (stairs) originally created for depth were abandoned - I made 3 of these steps/risers but that meant I could not create a bent pathway... in short wasted resources
5. There was a glaring empty backdrop at the end of the pathway


Fun fact - the inscriptions are names of the individual/organisation who donated to the shrine to get aa torii gate built for them. Price starts at ¥400,000/gate.

I nearly gave up but that entails wasting my time doing these 22 poles AND no post, so I persisted...

Wholly glad I did, so now I can share with you my March-April feature model - Okita Souji.

*
*
*


See what I meant by the empty backdrop? Thank goodness I managed to find a stand-in shrine to fill that space-


Experimenting with contrast and shadows


I really enjoy this night shot


Original photo - I really enjoy taking photos with this low contrast and light setting on my camera


After editing - I took an hour to figure this out


Behind The Scene - to counter the stupid gaps and save time, I pushed the poles together such that they're leaning against one another

And that's it, thank you lovelies~

And I'm running out of figures to photograh-

xoxo


Hello world, I’ve recently graduated from a full-time university student to an underemployed employee, desperate to contribute to society. And I’ve ran out of excuses for procrastinating on updating my blog, so here I am to start 2019 with my #2 bae of the 2D universe...

This is by far my most costly project, where I dropped over $30 purchasing basswood strips alone. However, it is also far easier to cut compared to styrofoam and it already came in a variety of pre-cut widths that suit my needs, so...

Before I got him I’ve already knew I wanted him to be in a “traditional” setting, but I’m unwilling to take the Edo streets route seeing it’ll take 1000 years to replicate those tiled roofs... I needed something authentic, fast (I try la hor), and shouts samurai, and shoji panel was the natural answer. I was initially reluctant to do it, seeing I already made it once for my most recent project, but I was hard pressed to get this rolling and went ahead.

After gathering some feedbacks from friends and reflecting on ways to differentiate this panel, I’ve decided to:

1. Add some design to the shoji panel
2. Paint it a darker shade of brown
3. Vary the shoji panel’s designs

Based on the figure's width & scale  I've quickly came up with the dimensions of the shoji panel:


 I've also decided to create a corridor backdrop, and for that I figured 2 pairs of panels on both sides would suffice


I’ve made the upgrade from my leftover roll of butter paper to some fancy A3 translucent craft paper, and even downloaded a bird print from the wrong era by Ohara Koson (1877-1945) just because I loved it and refused to change. Building the panels this time was actually easier with thicker widths and bigger scale, and combined with rigorous sanding the panels were soon ready.

To create the desirable burgundy shade I’ve mixed red, brown, and black poster colours with some water for applicability. The downside is that colours transfer happen should your hand or the wood gets wet. That said, the colours went on easily, dries quickly, and when dried still retains the vivid colour.


Various designs of shoji panels for visual interest

Building the shoji panel
Here R Hajime's specs for reference:

Series: Hakuouki: Shinsengumi Kitan
Manufacturer: Kotobukiya
Product Line: ARTFX J
Scale: 1/8
Material: ABS, PVC
Sculptor: Matsumoto Kouei
Release Date: August 2018 (can't believe I took this long to start this...)

This shoot took place on my doorstep, hope you like it.

*
*
*


Loving that intensity \o/


Come on, if there's samurai you GOT to have these cascading petals... I swear 8 out of 10 CGIs of this series features some form of sakura petals


Don't be caught dead in his path


This almost feels like a scene from its non-existent 3D adaptation  o//


*
*
*

For the longest second I’ve dreamt of turning day to night, but with photoshop skills as deep as my empty wallet and a silly aversion to failure, I’ve mostly stuck to daytime lighting and the same few conservative effects... My goal in in figure photography, whenever possible, is to give a contextual appreciation and understanding of the character, and hopefully also to become someone’s desktop/mobile wallpaper. It would have been ideal to set up those fancy light boxes and do it in the comfort of ma woman’s cave, but I’m unwilling to invest in lighting equipment (nothing beats free daylight!)

With some research I’ve found the trick is to colour correct the original to a slightly yellow wash and mask it under a blue temperature copy of the image. Next, unmask the parts where the light hits, and the result is an alluring mix of warm interior lights and a dark blue moon light. I’ll continue to experiment with nighttime shots and refine this tedious process. Don’t think I have done this much colour adjustments., but alas I still did it!

I don't usually like to show the unedited photo, but since this is a journal of sorts, and the difference is (literally) from day to night...


Before 


After 

(Please don't tell me you prefer it unedited)


Love you for staying till the end, and as always, till next time, and here’s the BTS:


Don’t mind the fish rug


xoxo

asia game festival

This is the 1st year AGF kicked off at Suntec Convention, organised by Singapore's events company Magika, in partnership with Singapore’s Cybersports & Online Gaming Association (SCOGA) and Cyberathlete Professional League (CPL). Recent years we have seen the rise of E-Sports, (which I'm still having a hard time accepting), and over the weekend from 9-10 June, there were lots of games tournament and immersive gaming booths to challenge and entertain ticket holders.

That's right, ticket holders, which unfortunately excluded me... It's not often you can brag about attending a con at the entrance. But I'm not paying $15 to take a spin around Hall 402 N exit with zero merchandise. Since my laptop's hard drive fried from overindulging in DOTA 5 years ago, I've stopped seeing myself as a gamer, although I still occasionally dream about being Shadow Priest or Puck... Damn it was fun being support.

Unless you count visual novels, which I've subscribed as a permanent member until a 4D Prince comes along and distracts me long enough... However, it could hardly qualify as an e-sport with no competitions or live community interactions involved.

While I'm unable to provide a coverage of the actual festival, I'll be reporting on what went on outside. Judging by the number of international cosplayer guests they have invited, I was expecting enough cosplayers to turn up to warrant my visit. Thankfully, my 2 hours of camping like a stalker by the entrance proved to be fruitful.

Unfortunately I was still too weak to approach every single cosplayer, and to those who kindly posed for me, thank you once again, you guys R amazing.

&you didn't cheat and wear shoes from our world-


Za grand entrance to the exhibition that I was denied entry

They should have named themselves Game Festival Asia (GFA) then it'll sound like Anime Festival Asia (AFA)~


Memorable for the hanging bells by the hem of her top

&I thought she was Miku until I saw the bob @.@ 
If anyone knows who she's cosplaying as pls lemme know


Is this Marine Captain MIku, or did I get it wrong again @.@@@@@


Love the converging effect from the overhead lights and floor tiles


Look at her sparkly smile...! (Ok ok I failed as a pseudo-reporter for not getting their character names and series)


From that gambling anime, Kakegurui: Yumeko & Mary 
(they were the only pair I rmb to ask for their characters...)


I tried googling green uniform anime girl with photo frame, but I guess that's too broad


Hey, my friend says you have a nice body


Hi Kylo Ren


Captain Gorgeous


Hands down prettiest kimono lady


Ah I miss my Lolita obsession days


Begins: badass gals series

#1 Gun girl (I missed using the 0.38...)


Badass girl #2
Fate/Grand Order: Saber Alter Causal

On point facial expression... How could she made such a simple costume so bloody cool


Badass girl #3
Fate/Grand order: Jeanne d'Arc
Another breathtaking cosplayer... Perfection from tip to toe


Badass couple from FF XV: Cindy Aurum & Prompto Argentum

They look legit straight out of the game...


This Midoriya (Tall Ver.) has officially melted my aging heart with that messy bed hair & cute smile

...& the costume reminds me of Lee from Naruto


Last but certainly not least... A man/sword from the game that caught the Internet ladies unguarded... Now manifested as flesh & bone & melting more hearts: Mitsutada from Touken Ranbu

P.S.: I think your interpretation of Mitsutada is better than Numacchi da yo~

.
.
.

It has been fun yet challenging capturing live subjects (compared to figure photography), since I have only this many frames & time to get the best shot. Hopefully I'll see you guys at the upcoming Cosfest too! Looking forward to ya future projects N good luck!

xoxo